
Painting a Watercolor –
From Start to Finish
This lesson will take you through the process of how to paint a watercolor painting. We will start with a drawing of leaves, transfer the drawing, do a wet-in-wet underpainting, paint the leaves, paint the background, and finish by putting in some
details and darks to create drama.
SUPPLIES
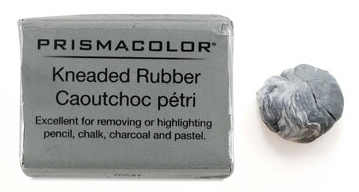
Watercolor is a drawing based medium so start with a pencil drawing. You can draw directly on your paper, but only use a KNEADED ERASER to make any corrections. Other erasers will damage the surface of the paper.
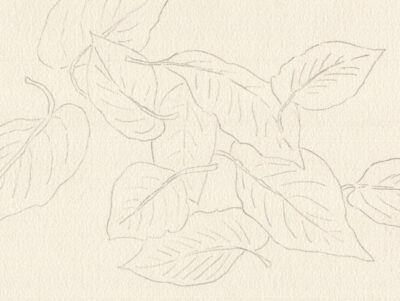
A drawing of maple leaves for you to use for this lesson is on page 3 of the attached PDF. The drawing fits on about an 8 1/2 x 11 inch paper. Transfer my drawing or draw your own leaves. Use only the three primary colors you are already familiar with for this painting:
• Cobalt Blue
• Winsor Red, Naphthol Red or Pyrrol Red
• Cadmium Yellow or Cadmium Lemon
STEP 1 – Transferring a Drawing
I almost always do my drawing on a piece of sketch paper and then transfer the drawing. When you have finished your drawing, take a soft 7B or 8B pencil and cover the back of the drawing with pencil graphite. Tape your drawing on one edge to the watercolor paper. Redraw it and lift up the drawing to check how much has transferred. The taped edge will keep the drawing from moving.
Make sure your transfer is not too light or too dark. Too light and the watercolor paint will cover it. Too dark and the pencil marks will show up in your final painting. It is sometimes hard to get the pencil marks under the paint to erase.
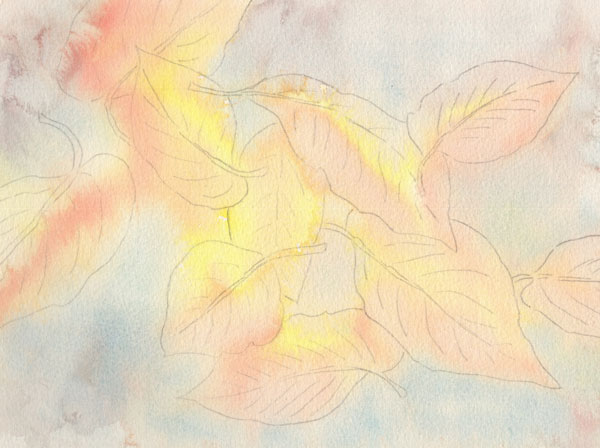
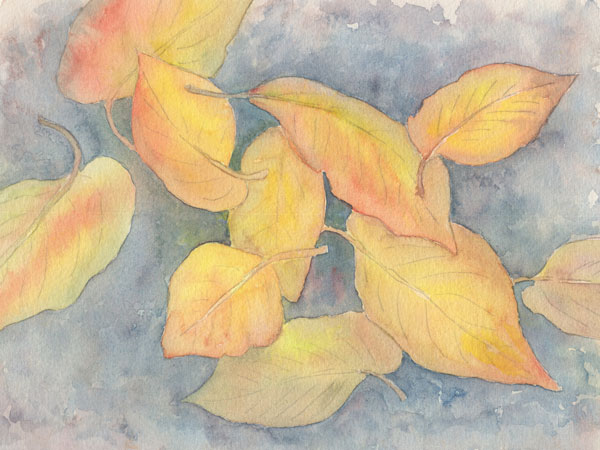
STEP 2 – Underpainting
Decide what color you want your leaves to be. Are they summer green leaves or will you be painting fall color? My painting is of fall leaves so my underpainting will be with my yellow and red paint with a little blue in background areas. If you are painting green leaves, which colors will you choose?
Cover your entire sheet of paper with water using a flat brush or spray bottle. Mix up your paints using a lot of water. Loosely cover the entire surface of the paper letting the paint flow and blend. Start to plan your composition by where you place the color. Have fun!
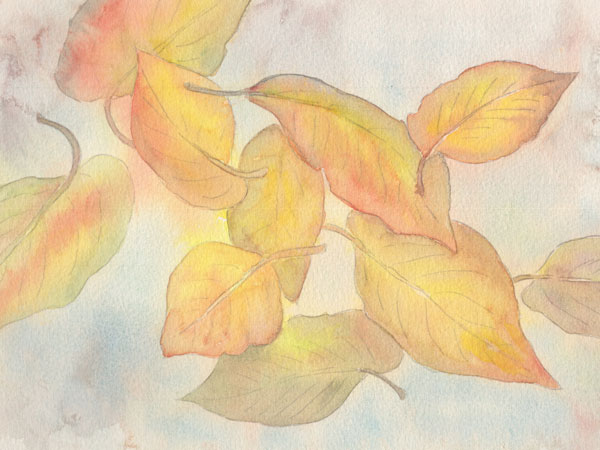
STEP 2 – Painting the Foreground Leaves
Let the surface of the paper dry a little. You can use a hair dryer to help. Then mix darker variations of your leaf colors and start to define the shapes of the leaves. You may find that the paint runs outside of the edges. Don’t worry if that happens. But to avoid it, make sure the paper is drier or mix less water into your pigment. Experiment. Try to make each leaf different from the one next to it.
STEP 3 – Painting the Background
This painting has a foreground and a background. The leaves are the foreground and around the leaves is the background. For my background, I will use the blue to mix grayer and darker colors that allow the brighter foreground leaves to stand out.
Use all three paints for the grayed background color. Start with blue, add a little red, then maybe a tiny touch of yellow to get a gray. Paint around the leaves, but you don’t have to be too careful.
STEP 4 – Making Adjustments
When the paint has dried, step back and look at your painting. The painting is at the awkward adolescent stage and you may think that now is a good time to throw it away. But hang in there, it needs adjustments. Let the painting tell you where it needs some brighter color, more detail, and darker color in the background. Ask yourself how you can make the painting more interesting?
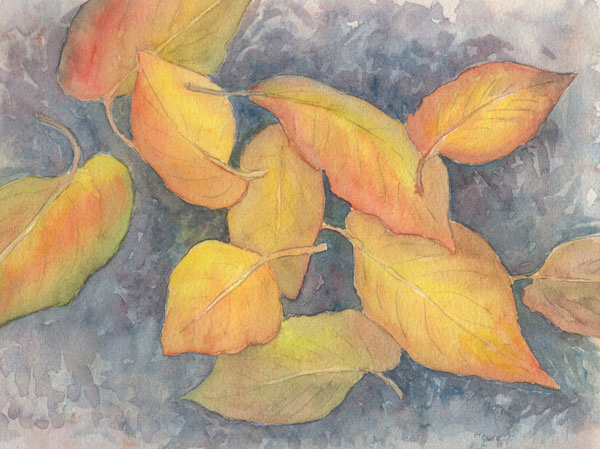
STEP 5 – Finishing Touches
OK, it is almost there. What you need are a few final touches including shadows on the leaves, add the stem and veins of the leaves and punch in some darks. Paint cast shadows by loading your brush with dark paint, use the tip to paint along the edge of the leaf and then with a clean, damp brush, blend the edge of the shadow.
Look at your painting one more time and if it’s done, sign it. Voila!

To print a PDF of this lesson, press the download button below:
THE NEXT POST WILL ANALYZE ONE OF MY PAINTINGS.